To continue the previous road trip post, once we left Florida, we headed up to North Carolina. Eric had never been, and I wanted to introduce him to some of my high school friends in Charlotte and show him one of my favorite places I’ve lived. I also happen to have family in Asheville, and our dearest couple friends relocated there from Los Angeles a few years back, so we were excited to see them as well!

Courtney and Nick’s House, Asheville
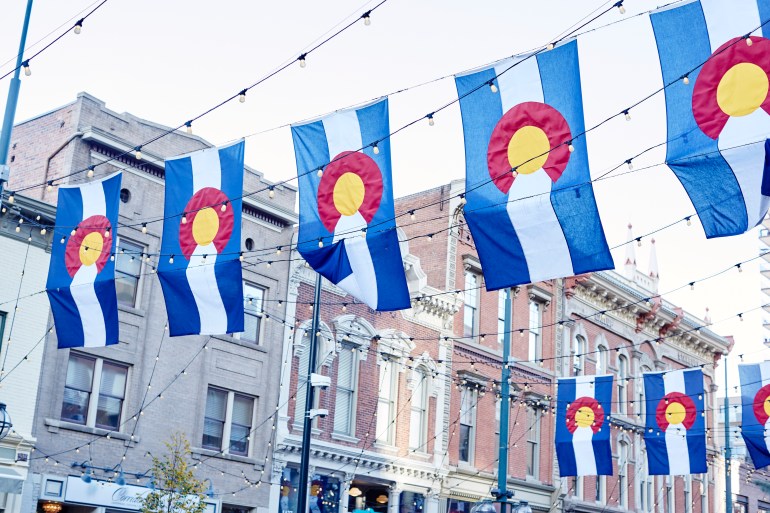
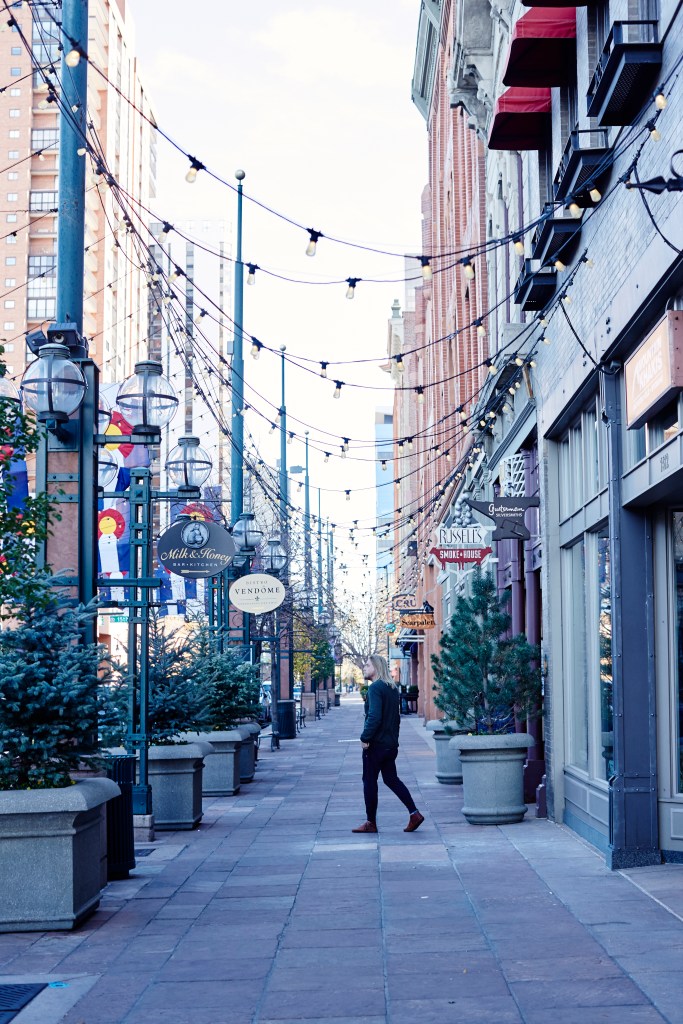
As I mentioned previously, I planned the first West to East portion of the trip prior to leaving, but figured I’d wait to plan the way back to see how we were doing on time. After leaving Asheville, we wanted to find a place to stop that we’d never been, on our way to stay with family in rural Missouri. My mom suggested Lexington, Kentucky. I’d never had any interest in visiting Kentucky (I think I’ve driven through it a few times in my younger road tripping years) but it sounded cute, so we booked a night there. Lexington blew our minds. We were NOT expecting it to be as cute as it was. The houses were so charming, and there was actually a pretty decent health food scene! We were only there for a night, and sadly I didn’t take any real camera photos, but if you’re ever looking for a super charming town, this is your place! From Lexington we stopped through Missouri for a night, and then headed through Kansas on our way to my home state of Colorado (I was convinced that a tornado was actually going to blow our car away – the winds were so strong coming through the plains and the clouds were not so friendly). Getting to show Eric a little bit of Denver (where I was born) was super fun, and we stayed in LoDo, my favorite part of downtown, at a super chic dog friendly hotel called the Hotel Teatro with a paleo friendly restaurant inside – a nice treat after driving through the midwest. 🙂 The next morning, we explored the area a bit and got to visit with one of my aunts (I have a GIANT family) before stopping by my favorite distillery Stranahan’s and heading off to a cabin I found on Airbnb in Manitou Springs.


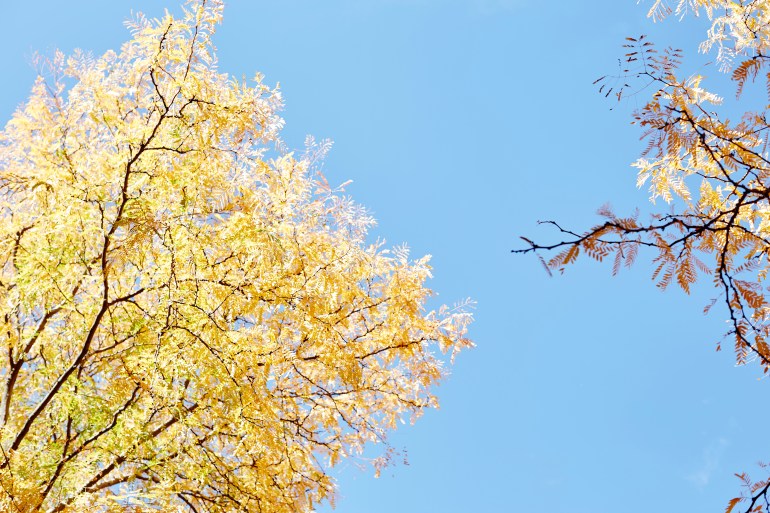

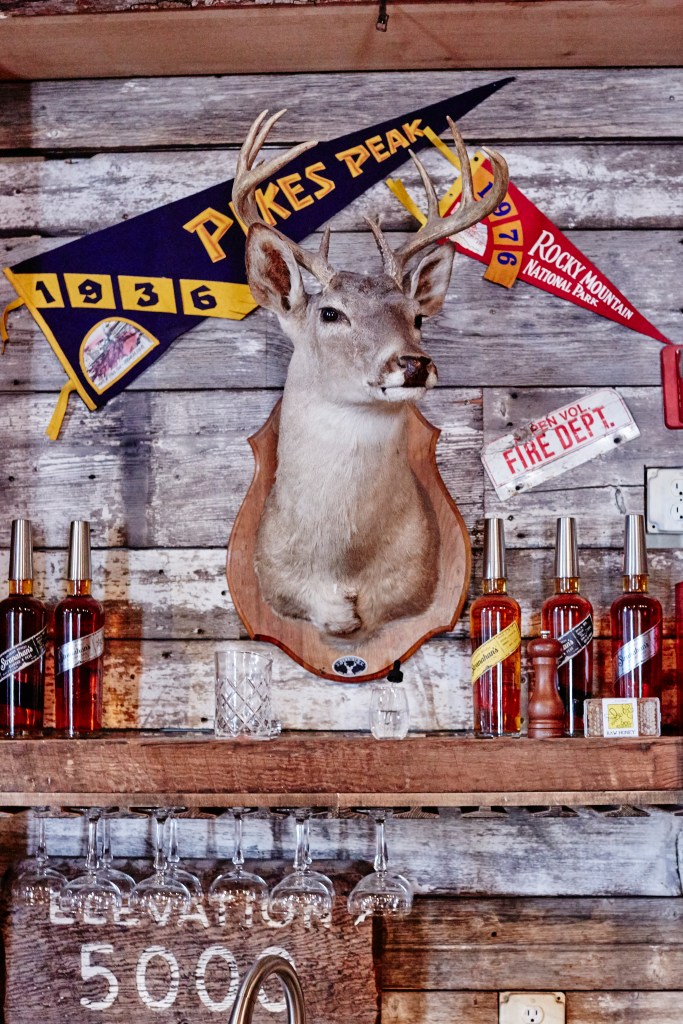


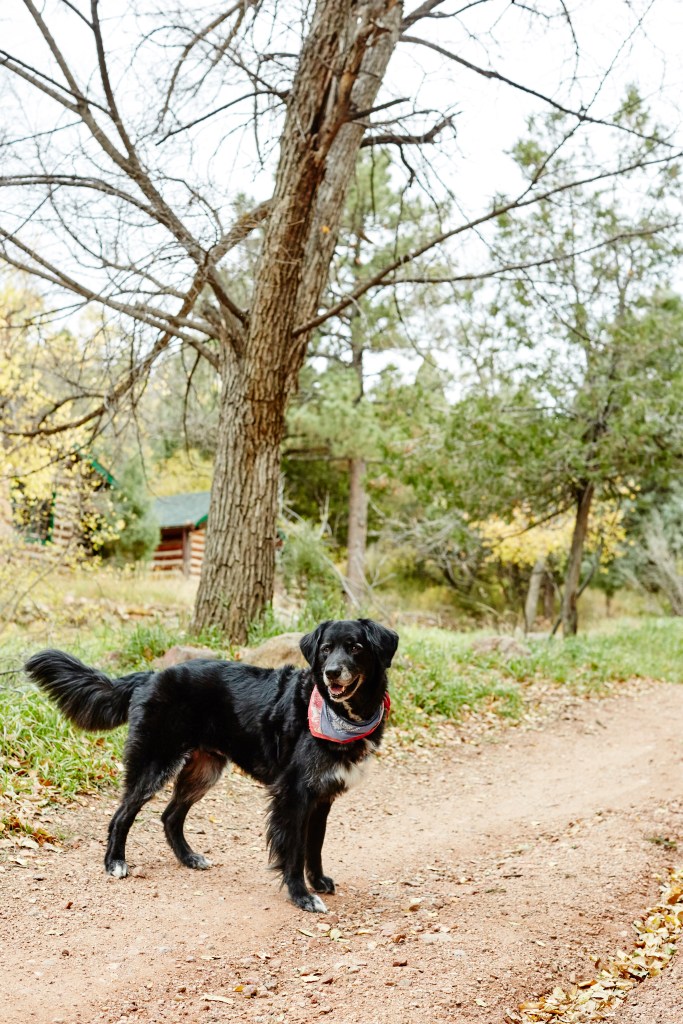
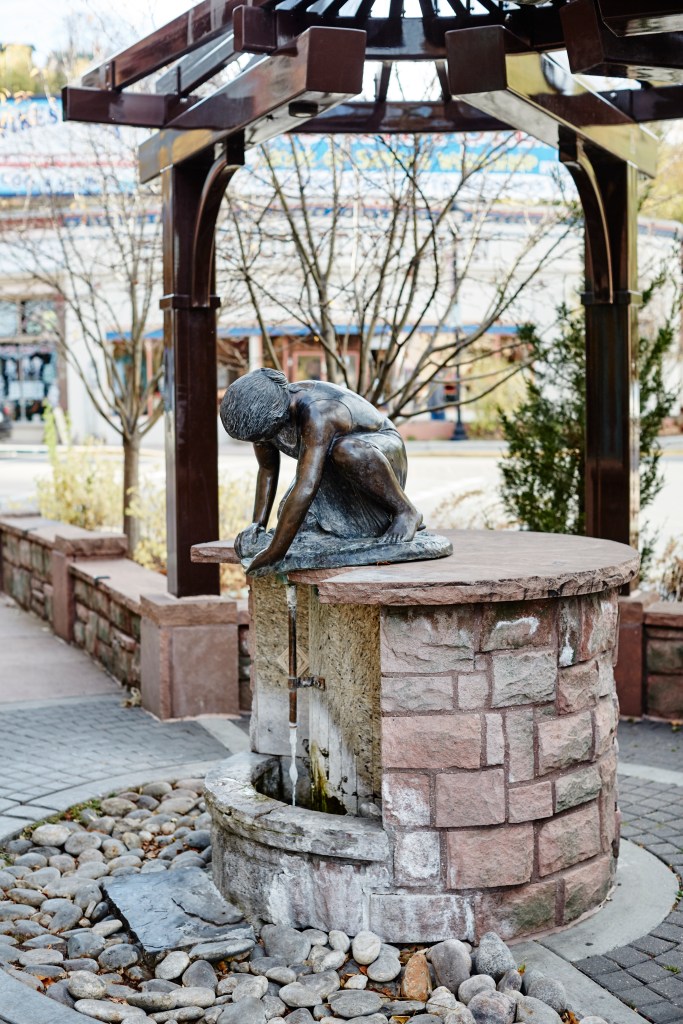
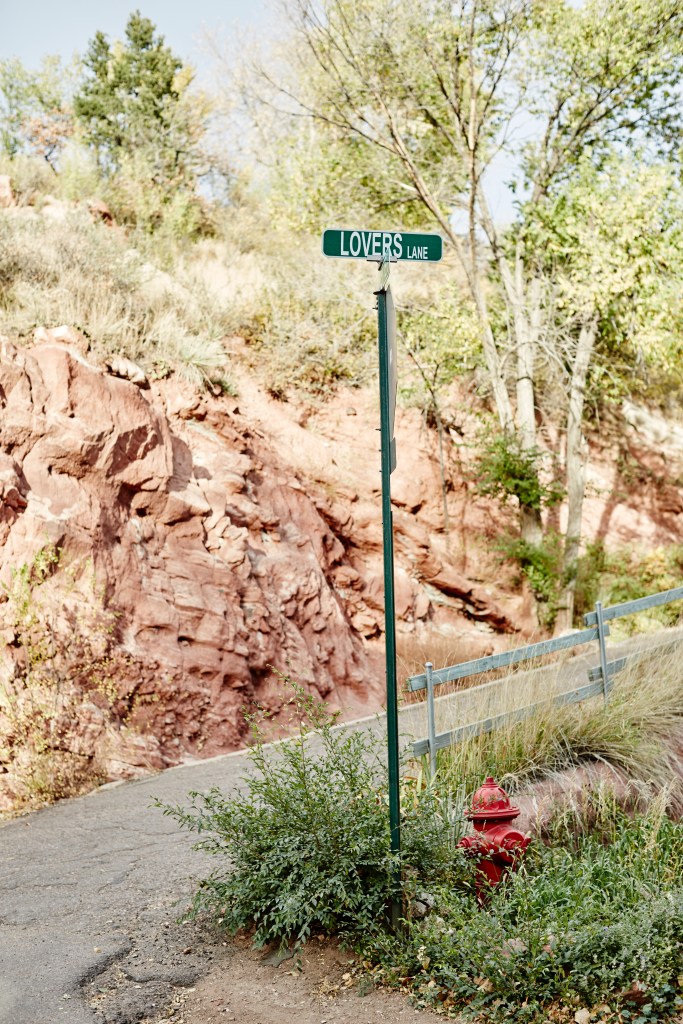
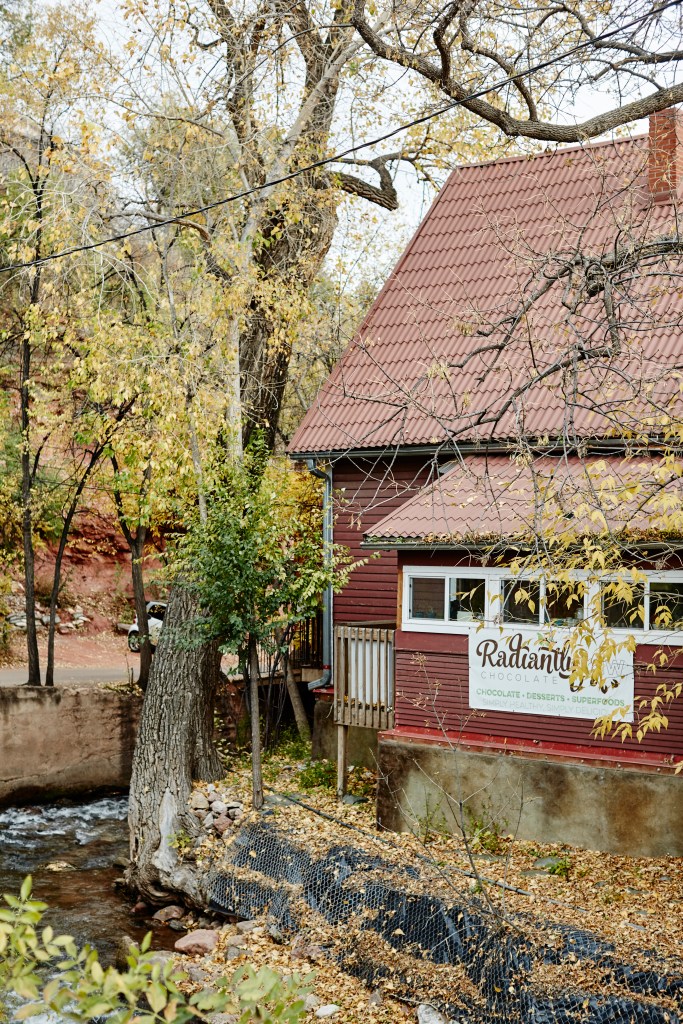
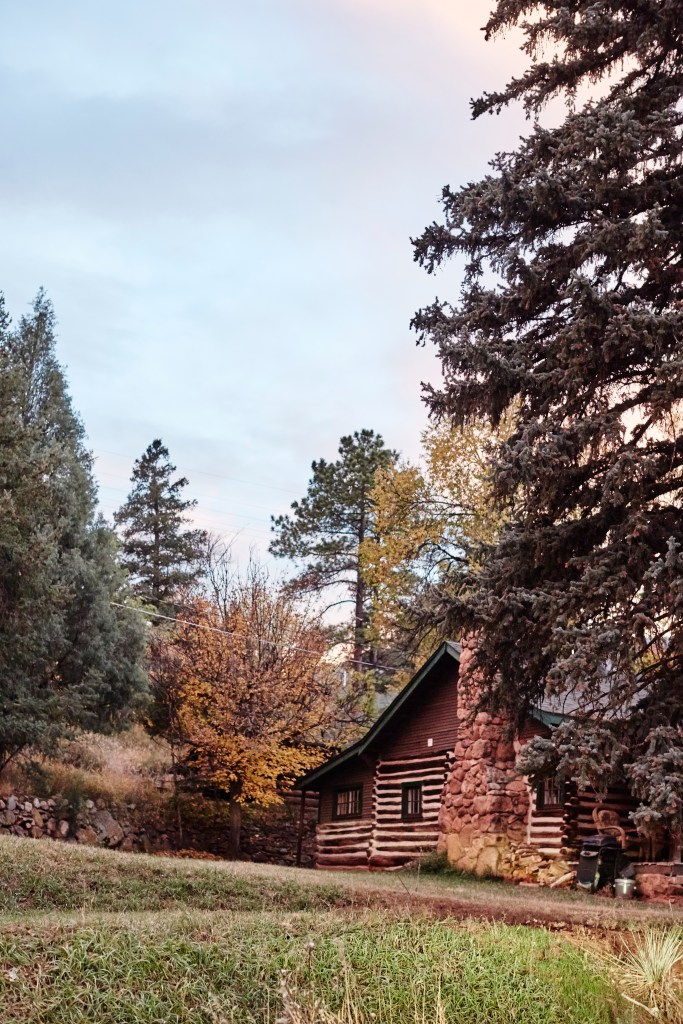
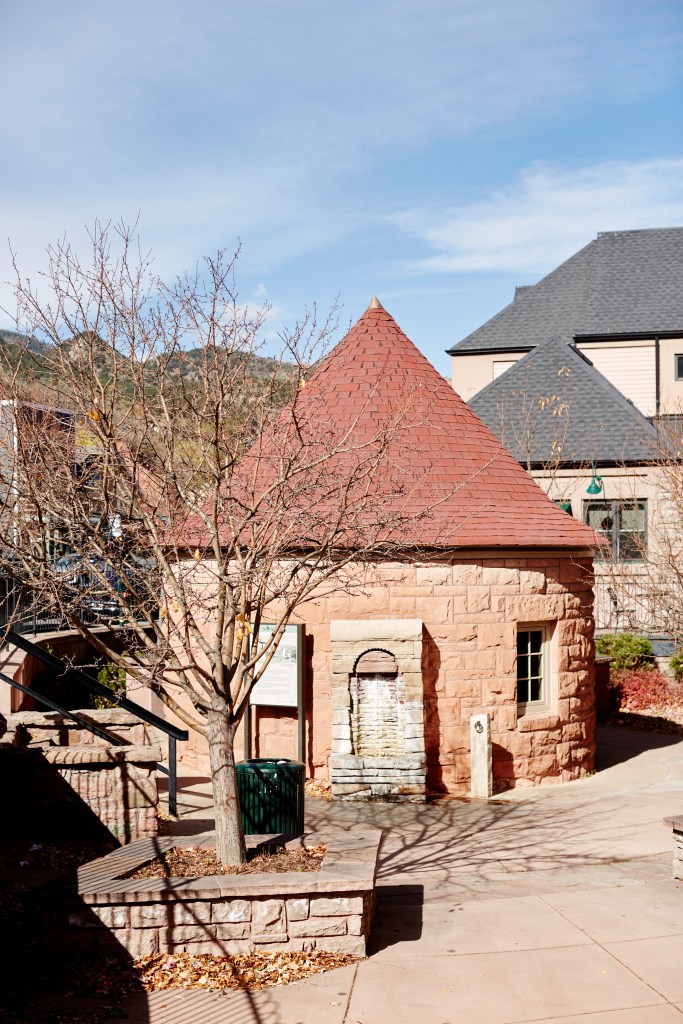
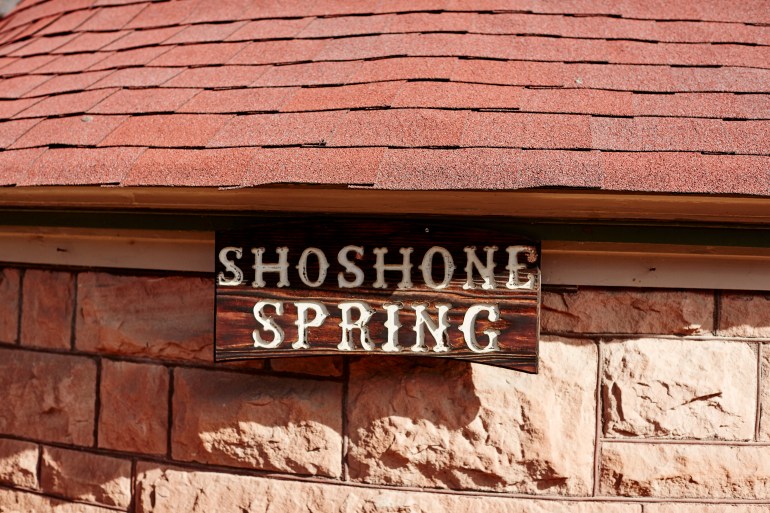
So…Colorado is STUNNING. Especially in the fall! As a kid, I remember going up to Manitou Springs to visit a Santa themed park called “The North Pole.” What I didn’t remember was how magical this town really was! When hunting for a place to spend a few nights and decompress on our way back home, I came across these historic cabins nestled up a dirt road in Manitou Springs. I’m a sucker for an old cabin (especially a dog friendly one), so that’s what we booked. When we pulled up the dirt road, we were greeted by a deer (seriously) who walked in front of the car straight up to our cabin, and then hung out while we unloaded. The cabin was even cuter than the pictures suggested! After settling in, we went to walk the town. One of the coolest things about Manitou Springs (aside from the fact that it’s stunning) is that there are various fountains throughout the town, with mineral water coming up from underground that you can drink! I was definitely skeptical about filling up water bottles, but once we saw other people doing it, we went for it. Mineral water, straight from the source, is a pretty amazing thing, and different minerals have different benefits. Not going to lie, I felt a little high from the Lithium fountain (although it could also have been from the weed lozenges we picked up from a collective in Denver too).


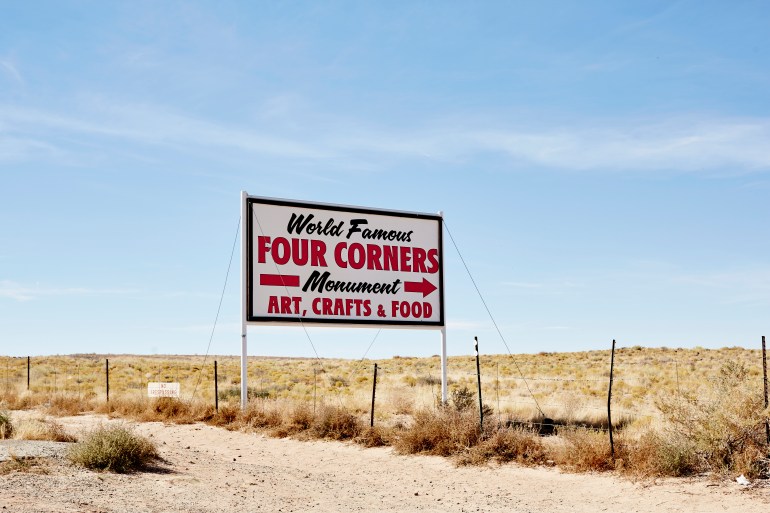
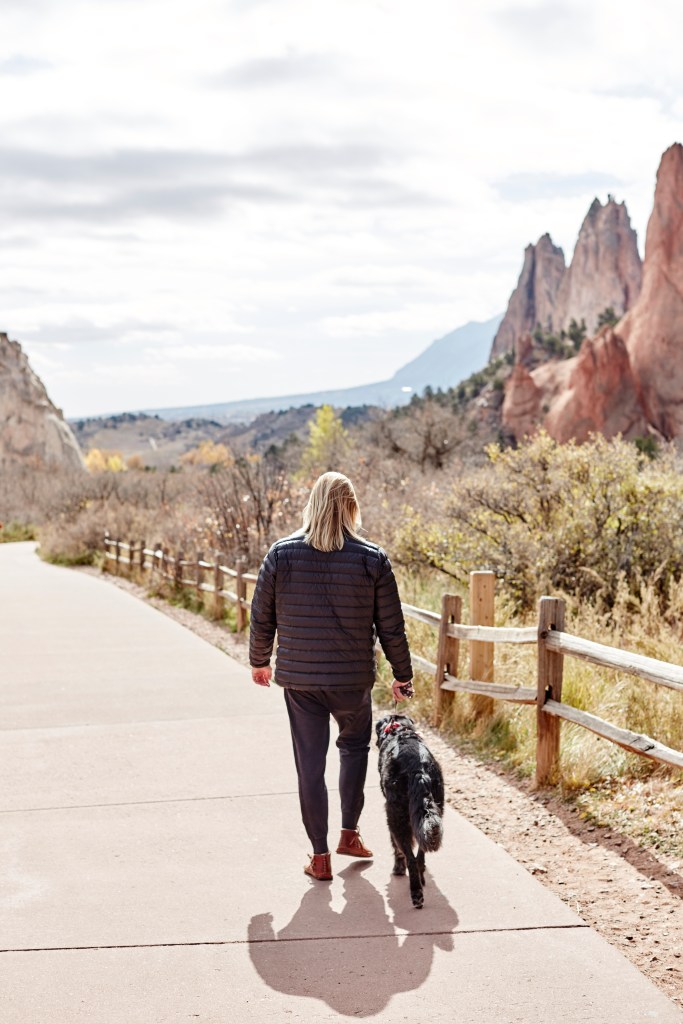
Before we left, we stopped by Garden of the Gods to admire the red rock formations, and then headed on down to Durango for our final adventure before going home.


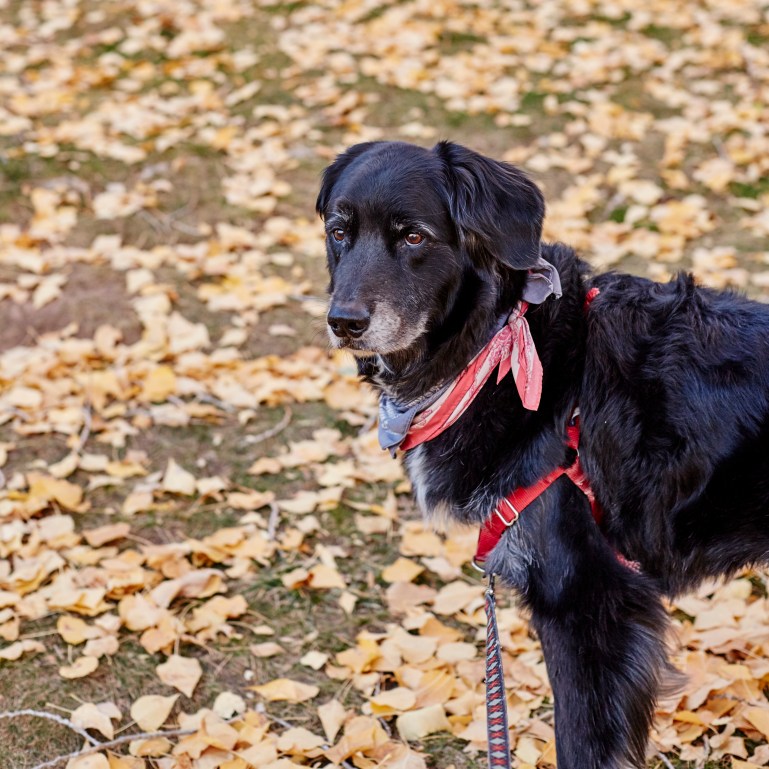
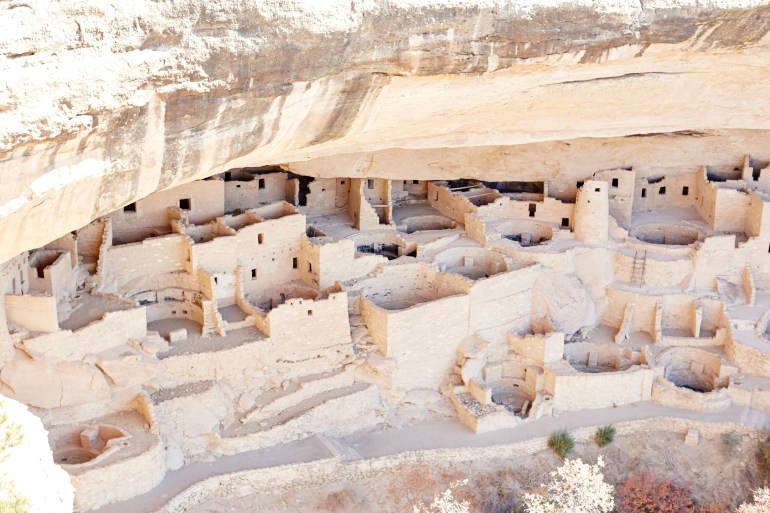
The drive through the mountains was one of the most spectacular drives I’ve ever been on! I wish I had pictures from it, but I get car sick if I don’t drive, and it’s super windy, so it will just have to live on in my mind. One night is definitely not enough to experience Durango, but I will say…no surprise…it was magical! So many healthy food options, a beautiful river running right through the city, and seriously my favorite food co-op I’ve been to in a while (the other favorite is definitely in Ashland, Oregon). I also loved getting to visit the Mesa Verde Cliff dwellings – which proved to be a bit challenging with a dog (National Parks aren’t really dog friendly, and we hate leaving him in the car for too long so we had to take turns exploring) but amazing all the same. I had wanted to see cliff dwellings in person since I was a kid, and had such an emotional experience witnessing this in person – something that I didn’t expect at all.


The drive from Durango to LA would have been around 13 hours, and I decided I wanted to stop one more night before we got home. In pure Peffley style, the last night was a doozy. We stayed at a crappy LaQuinta in a weirdly commercial area of Scottsdale, ate at Red Robin (surprisingly paleo friendly) and argued most of the night. That said, after 30 days on the road, one epic battle on the final night isn’t half bad. 🙂